Congratulations! You have made it this far. This is it, the last thing you need to do before soaking in the pleasures of the sacred plant – or the relief it provides. Curing the dried buds is just as important as the day when you began, from germination and all throughout the life cycle. Do it right, and you would preserve the most cannabinoids and terpenes, keeping it at the highest quality.
Page Content
Top Reasons Why You Need To Cure Cannabis
Now is not the time to be impatient and cut corners. In this last stage, before the buds are ready for consumption, curing improperly can wipe out all those weeks and months of work you have put into growing the marijuana plants.
To reinforce why you should resist the temptation to take this last step for granted, here are more reasons why you want to do it right.
Properly cured cannabis dried buds had more than enough time to degrade byproducts, such as sugars, that were produced during the drying process. Absent of these compounds, the smoke is smoother, pleasant, and easy on the throat and the lungs.
Improperly cured cannabis buds result in losses of terpenes. Not only do these compounds produce the characteristic scents of the strain, but they also deliver medicinal benefits. More importantly, they enhance the effects of THC and other cannabinoids. But they are highly volatile and can quickly degrade over high heat. A slow, prolonged curing period can best preserve them.
During the curing period, THC degrades a little bit. It is not a bad thing, though. Degradation results in some of it converting into CBN. The current state of understanding over CBN is that it is mildly psychoactive and may also produce other effects.
Lastly, proper curing helps prevents molds from growing, which in turn extends the shelf life.
Factors Affecting The Curing Process
Before curing the buds, let us take a look at the different factors that affect this process negatively.
1. Exposure To Light
Light hastens the degradation process of THC, and especially the terpenes. For that reason, the stash needs to be secured in a dark, cool place. Mason glass jars are widely used in the cannabis community. If available, a MIRON glass jar would even be better. They are made of a type of glass that blocks sunlight and UV, mainly used to preserve the content.
2. High Heat Exposure
Heat is needed to convert inactive THCA in the buds to its active form – THC, but not during the curing process. In excessively hot temperatures, the cannabinoids degrade, causing a reduction in potency. For the best curing results, store at room temperature of around 70°F.
3. Humidity Level
A little bit of moisture – 62% RH – is good for the buds. If it is too high, the moist buds tend to clump together, leading to the formation of molds. It is also highly possible that anaerobic bacteria may grow. You can tell if bacteria are breaking down the buds when you smell ammonia after opening the jar. If too dry, then the buds would be crumbly, and the smoke produced would be harsh.
How To Cure Marijuana Buds
Curing marijuana is not a particularly difficult task. Mostly, it is leaving it be, except when you routinely check the buds.
Step 1: Prepare The Buds
During the drying process, did you dry the buds individually or by branch? If you did it separately, then proceed to step 2.
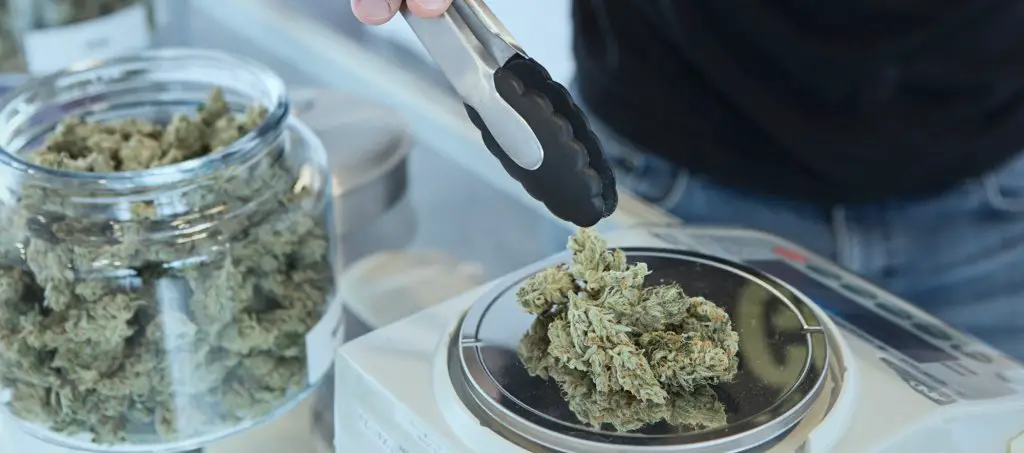
For a branch, you would need to separate the buds and trim off the big fan and sugar leaves protruding out of the buds. The small sugar leaves, you can leave them behind. When trimming and preparing the buds for curing, you have to do it gently and carefully. The last thing you want is to lose delicate trichomes.
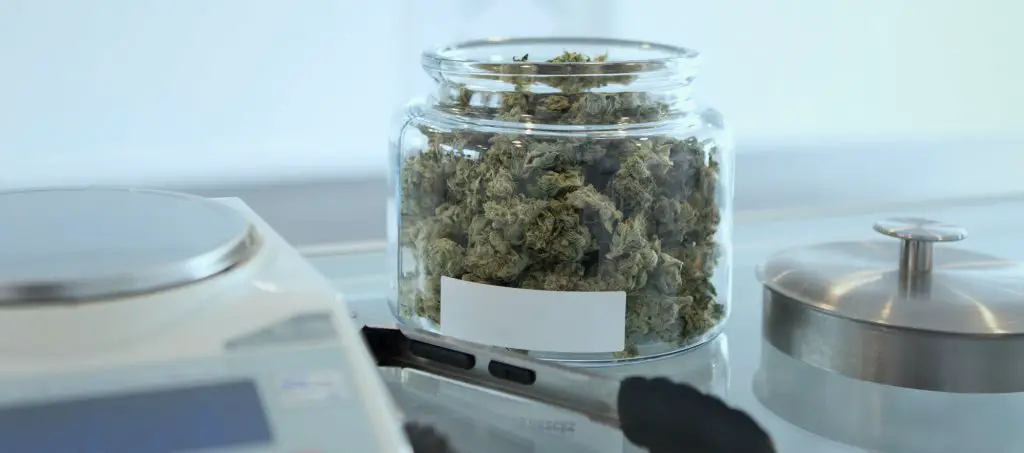
Step 2: Fill The Glass Jar
Generally, you want to use a glass mason jar with a lid. As stated earlier, a MIRON jar is the better choice if you could obtain it.
The size of the jar is dependent on your stash. What you want to do is to fill to 75-80% capacity. Leaving a little room for air is a critical part of the curing process. Avoid using a jar that is too large, though, as the higher volume of air becomes a disadvantage. In this case, there would be too much oxygen hastening the degradation of the cannabinoids and terpenes.
After filling the jar, you can test the buds to make sure they are ready for curing. Shake gently, and if the buds rattle freely, then you are good to go. If they clump up, then they are too wet still and require further drying. Remember to be gentle, so you do not lose trichomes.
Step 3: Store The Jars
Cover and seal the jars, then place them in a cool, dark place. Maintain an optimal temperature for curing – that is 70°F. As for the moisture level, keep it between 60-65% RH. For this, you can put a mini hygrometer inside each jar so you could always check, ensuring that the moisture level is optimal at all times.
Step 4: Routine Checks
In the first two days, check the buds twice a day. Each time, open the lid for two minutes to allow for fresh air. Inspect the buds through the glass and watch out for signs of molds.
Make sure, also, that the humidity level sits between 60-65%. If the moisture level is too high, you can leave the jar open for 3 hours, letting the excess moisture to evaporate into the air.
If the moisture level is below the optimal range, then leave the jar closed for a more extended period of time – without opening. On the off-chance that it does not work, then you can remedy that by placing a 62% humidity pack inside the jar.
Step 5: Keep Going And Celebrate
Continue to do the same thing for another two weeks. By the third week, you would already have smokable buds. If possible, resist the temptation to start grabbing some buds to smoke. Instead, keep going on for up to six months. The longer the curing period, the more potent the buds become.